Excel add-in for Sage Construction Management
The Microsoft Excel Add in was developed to export job cost information to Microsoft Excel through the Sage Construction Management Open API (Beta). This add in requires the Open API option, which is free for firms using Sage Construction Management Max Employee License Plans but is an additional fee for firms with individual licenses.
After the addin has been installed and set up, the user will be able to select one or more projects, a Financial API (V1, V2, or V3) and a target Excel sheet. Job cost information will then be exported to the target sheet and cell (e.g., A2.) All fields included in the API will be populated in Excel.
Requirements
- Windows 10 or higher operating system
- Internet Ports Open: 80 (http://) and 443 (https://)
- Microsoft Excel 2016 or higher
- Access to the Sage Construction Management Open API:
- Standard *: 50 Calls/Day and Max 10 Calls/Minute: Free with all license plans
- Enterprise - 1000 Calls / Day and Max 30 Calls/Minute
Training videos
For more details see Sage Construction Management Training.
Steps To Complete Before Installing and Using Excel Addin - Account ID, Client ID and Secret Key For API Connection
- Log in as an Admin.
- Click the gear icon on the top right and select Developer Mode.
Note: Developer Mode is only available on the Alpha site at the moment. - Navigate to the 'Developer Mode Settings' section.
- Set 'Do you wish to use developer mode?' to 'Yes'.
- Click the 'Save' button.
- Set 'Are you planning to use as a developer?' to 'No'. This would only be set to 'Yes' if a software company wants to create an addin for other firms to use.
- Navigate to the 'Production Environment' tab.
- Copy the following information and paste in a temporary file such as Notepad. This information will be needed for the Excel Addin to connect to the account and fetch financial data via the Open API.
- Account Key (See purple section in image) = Account ID
- Integration Key / Client Id (See orange section in image) = Client ID
- Account Base Url (See green section in image) = Base Url
- Click the Api Key(s) tab below.
- Click the 'Add New Apps and Keys' button. See red highlighted section in image above.
- Enter 'Sage Construction Management Excel Addin' for App Name.
- Set the following properties as shown in the image above.
- Features: Project Financials
- Authentication Type: Client Credentials
- Scopes: Read
- Redirect Urls: Sage Construction Management.com
- State: test
- Refresh Token LifeTime (in mins): 30
- Allowed Origins: Sage Construction Management.com
- Copy the 'Secret Key' (See blue section in image above) and paste it in the temporary file that includes Integration and Account Keys.
Client ID and Secret Key are valid for the entire organization and have full admin access. - Click the 'Save' button at the bottom. (not shown in image above)
Part 2 - Microsoft Excel Addin Installation Instructions
- Close Microsoft Excel if it is currently open.
- Download the Sage Construction Management Excel Addin: Click Here The file will be 'setup.exe' in the downloads folder if it does not auto install.
- Install the Excel Addin by clicking the Setup.exe file. The application name in the installation window will be 'Sage Construction ManagementConnectForExcel'.
- Open Microsoft Excel.
- Open a new Excel file.
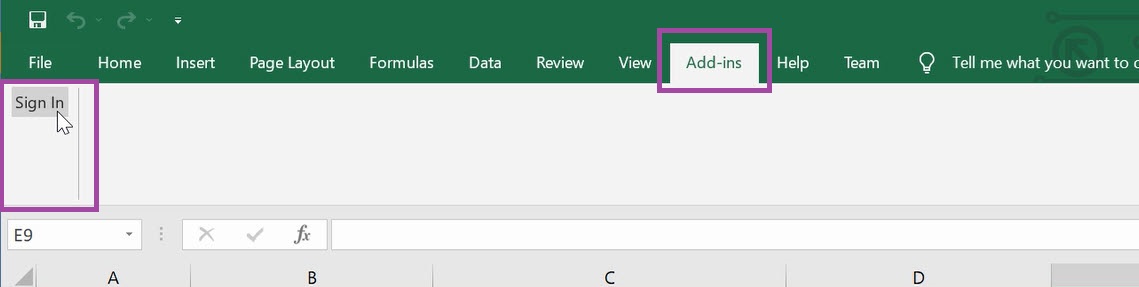
- Click 'Add-ins' tab at the top.
- Click 'Sign In' on the left for Sage Construction Management Connect (actual plug in name).
- In the popup form, enter the Account ID, Client ID and Secret Key that was copied to a temporary file. (See section above installation instructions)
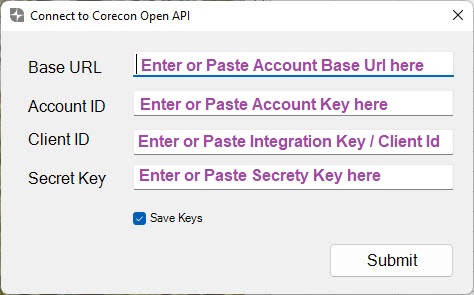
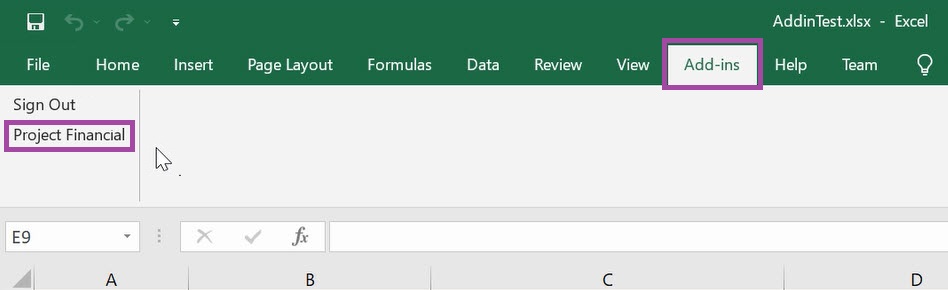
- Click 'Submit'. The Sage Construction Management Connect Add-in should now have 'Sign Out' and 'Project Financial' in the menu.
- Click 'Project Financial' in the Sage Construction Management Connect Add-in menu.
- In the popup form, select the Sage Construction Management API from the drop-down.
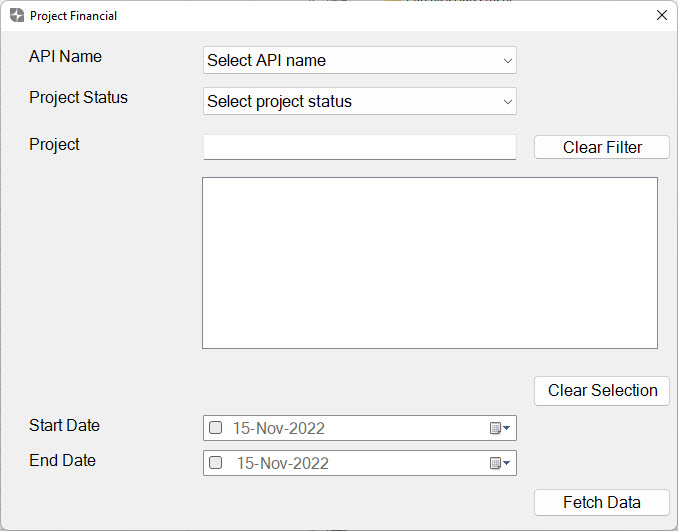
- Optional: Select Project Status (ex. All, Active Only, Archived Only) to filter the project listing.
- Optional: Enter text in the Project field to search or filter the project listing.
- Select one or more Projects in the listing by clicking the checkbox next to the project number.
- Optional: Select Start and End Date transaction filters.
- Click the 'Fetch Data' button.
-
Select the Target Sheet Name from the drop-down and enter the Cell Number. This is where the financial data will be populated.
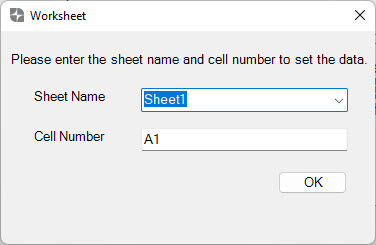
- Click 'Ok'.