Import Sage 300 Construction and Real Estate projects, estimates, and contracts into Sage Construction Management
Related information
You can now import Sage 300 Construction and Real Estate projects, including customers, estimates, and contracts, directly into Sage Construction Management.
Details
A new import option allows you to bring Sage 300 Construction and Real Estate project data into Sage Construction Management through a guided workflow. During import, the system validates project and customer information, creates the project and related records, and automatically generates associated financial and contract data based on the Sage 300 Construction and Real Estate estimate and contract structure.
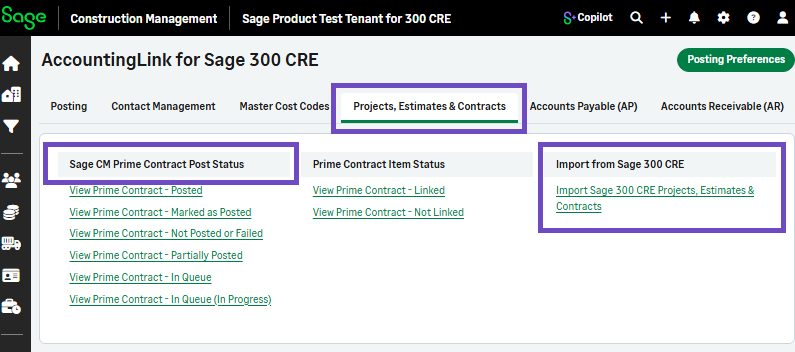
The Contracts tab has been renamed to Projects, Estimates & Contracts and includes a link to import Sage 300 Construction and Real Estate projects, estimates, and contracts.
The import workflow ensures the project does not already exist in Sage Construction Management, verifies whether the customer exists and creates it if needed, by adding the following:
-
The project number and title
-
The user’s firm and customer to the Project Directory
-
The job cost codes (JCCs) based on the referenced estimate
-
A prime contract using the imported data
How it works
-
Log in to Sage Construction Management as an Administrator.
-
Go to Accounting Link and select the Projects, Estimates & Contracts tab.
-
Select Import Sage 300 CRE Projects, Estimates & Contracts.
-
Select Sage 300 CRE Project and Sage 300 CRE Customer from the dropdowns and select Next.

-
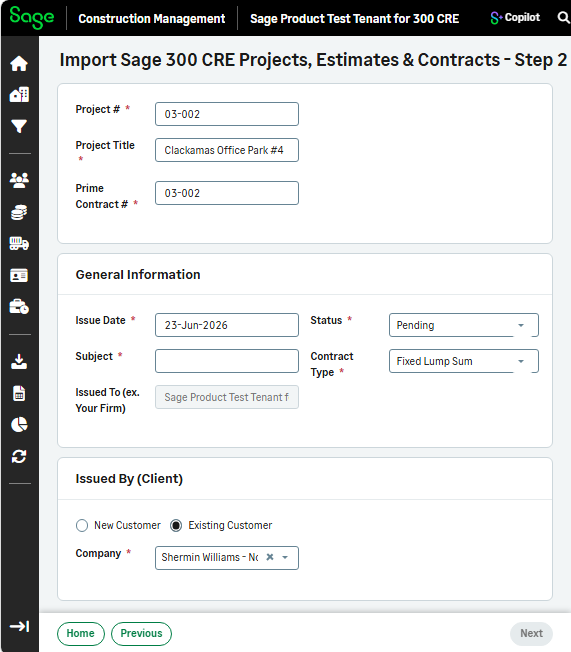
Enter the Project #, Title, and Contract #, the General Information, and the Issued by Client details, and select Next.
-
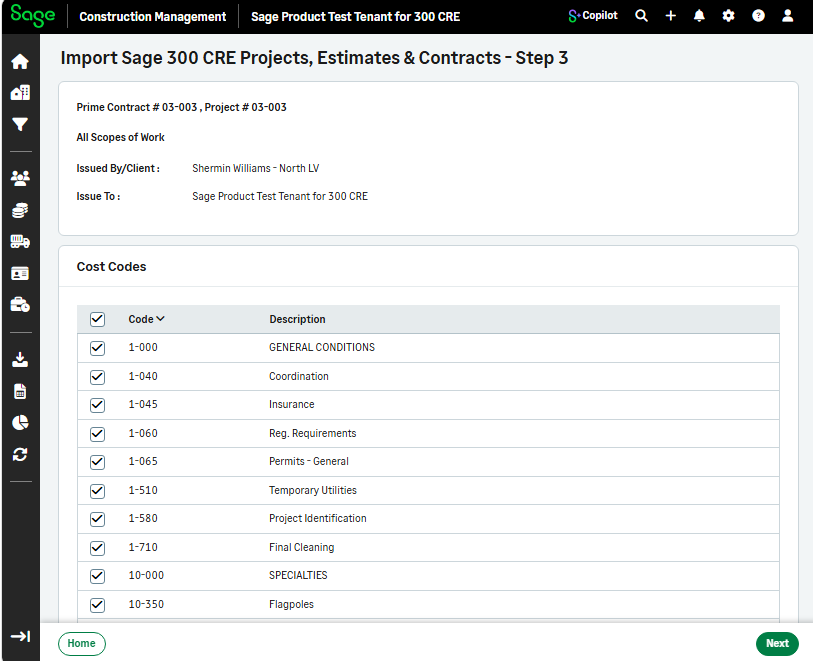
The job cost codes are based on the referenced estimate. Select the required cost codes and select Next.
-
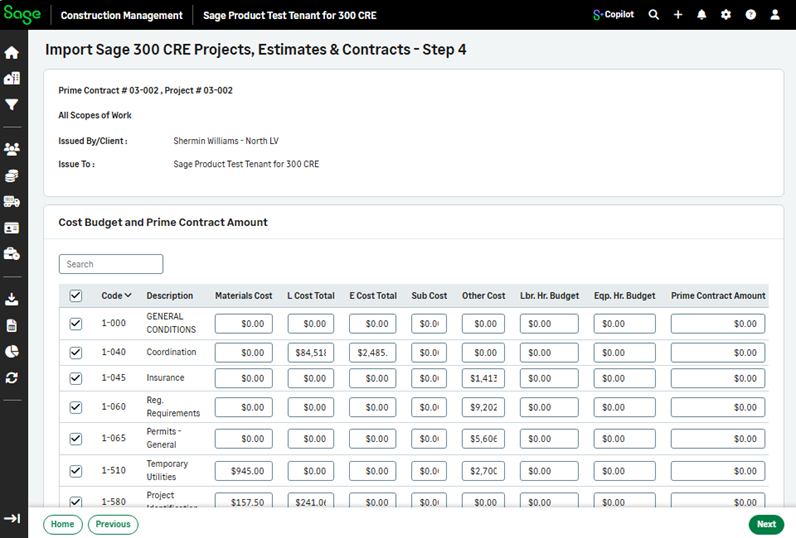
Add the cost budget and prime contract amount, select the cost codes, and select Next.
-
Select Close.
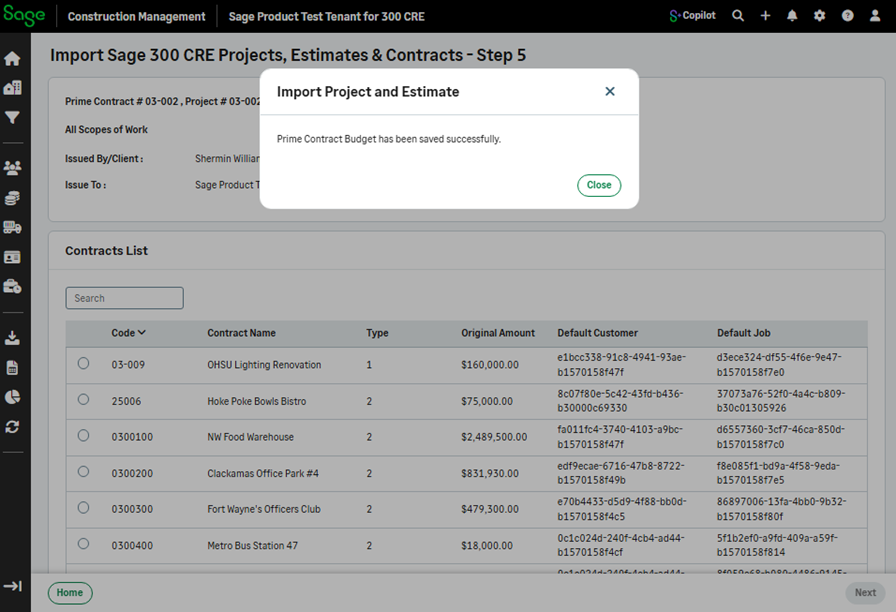
The project has been imported.